How to Light Your Kitchen Countertops Without Harsh Shadows
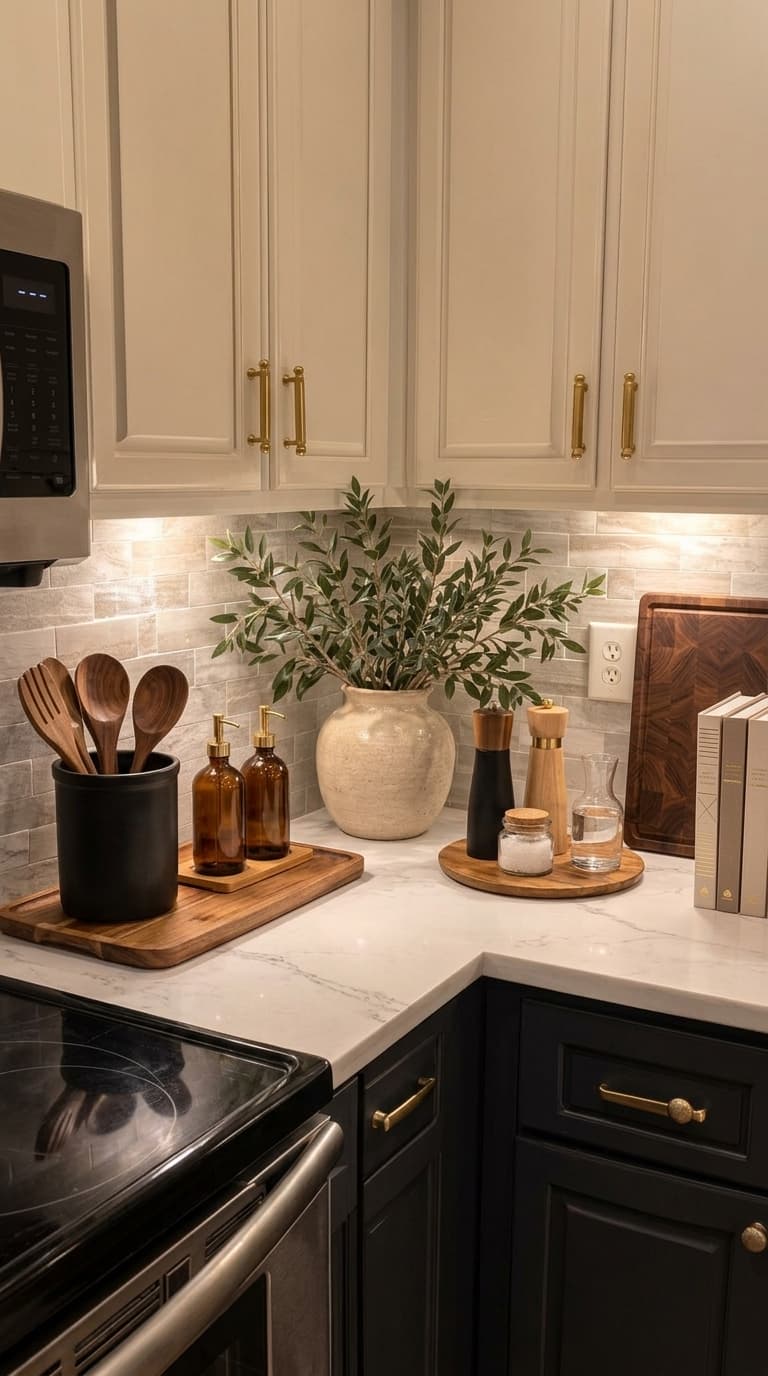
A well-lit kitchen is more than just functional; it's the heart of daily life where cooking, cleaning, and gathering happen. The image shows a stylish kitchen with cream upper cabinets and dark lower cabinets, but the real magic lies in the warm glow coming from beneath the upper cabinets.
This under-cabinet lighting setup eliminates shadows on the countertop, making tasks like chopping vegetables or reading recipes easier while highlighting the marble surface and decorative items. It's a simple upgrade that transforms both utility and ambiance.
1. Why Under-Cabinet Lighting Matters
Under-cabinet lighting is a game-changer for kitchen functionality, especially in spaces with deep countertops or dark cabinetry. In the image, the light source is hidden beneath the cream upper cabinets, casting a soft, even glow across the white marble surface without creating glare or hot spots.
This type of lighting solves a common problem: shadows cast by overhead lights or the cabinets themselves, which can make tasks like reading recipes or checking food colors difficult. It also adds a layer of visual warmth that enhances the overall decor scheme.
2. Choosing the Right Light Type
The image uses warm-toned LED strip lighting, which is ideal for kitchens because it complements the cream and dark cabinet colors without washing out the white marble. Avoid cool white or blue-toned lights, as they can make the space feel clinical and uninviting.
LED strips are preferred over puck lights or individual fixtures because they provide continuous, shadow-free illumination. Measure the length of your cabinet run to determine how many strips you need, and ensure the light output is sufficient to cover the entire countertop area without dark corners.
3. Placement and Installation Tips
Position the light strip directly under the front edge of the upper cabinets, ensuring it's close enough to the countertop to illuminate the workspace but not so close that it creates a harsh line of light. In the photo, the light is placed just below the cabinet face, creating a seamless blend with the backsplash.
When installing, clean the surface thoroughly and use adhesive strips or mounting clips designed for the light type. If you're renting, opt for plug-in LED strips that don't require permanent wiring. Always test the light before final installation to check for shadows or uneven brightness.
4. Avoiding Common Mistakes
A frequent error is installing lights that are too dim, leaving the countertop still in shadow. Check the lumens rating; for a standard kitchen run, 400-600 lumens per foot is usually sufficient. Also, avoid placing lights too far back under the cabinet, as this creates a 'cave' effect where the front of the counter remains dark.
Another mistake is using lights with a color temperature that clashes with the room's decor. The warm glow in the image complements the neutral tones and wood accents. If your kitchen has cool-toned elements, match the light temperature to maintain visual harmony.
5. Enhancing Your Decor with Lighting
Beyond functionality, under-cabinet lighting highlights your decor choices. In the image, the light draws attention to the olive branch in the vase and the wooden trays holding utensils and spices, making them focal points rather than afterthoughts.
Use lighting to create depth and dimension. Position lights to illuminate textured surfaces like the marble countertop or the woven wood cutting board, which adds visual interest without adding clutter. This technique works especially well in kitchens with open shelving or decorative backsplashes.
- Measure the length of your upper cabinet run to determine the number of LED strips needed.
- Choose warm-toned LED strips (2700K-3000K) to match the cream and dark cabinet color scheme.
- Install the light strip under the front edge of the upper cabinets, close to the countertop surface.
- Test the light output before final installation to ensure full countertop coverage without dark spots.
- Clean the mounting surface thoroughly before attaching the light strip for better adhesion.
- Avoid cool white lights that clash with warm cabinet tones and create a harsh atmosphere.
- Use plug-in options if you're renting to avoid permanent wiring modifications.